По подразбиране iTunes или Finder правят резервни копия на устройства с iOS в дълбоко заровена папка на вътрешното устройство. Няма конкретна настройка, която можете да активирате и да изберете различно място. Тези архиви могат да се сблъскат с няколко гигабайта. По този начин, за по-добро управление на съхранението, може да искате да промените местоположението за архивиране на вашия iPhone на вашия Mac или PC. Позволете ми да ви покажа как можете да преместите местоположението по подразбиране за архивиране на iOS.
- Променете местоположението за архивиране на iPhone на Mac с MacOS Catalina или по-нова версия
- Възстановете iPhone Backup Folder до първоначалното му местоположение на Mac
- Промяна на iTunes Backup местоположение с помощта на iPhone Backup Extractor
- Вече променено местоположение за архивиране на iTunes, но не можете да видите архива?
- Как да промените местоположението за архивиране на iTunes iOS на компютър с Windows
Променете местоположението за архивиране на iPhone на Mac с MacOS Catalina или по-нова версия
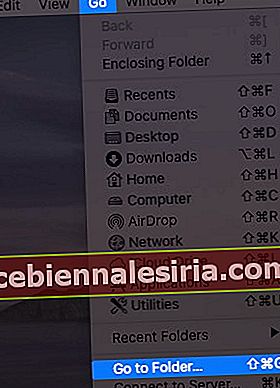
- От горната лента на менюто кликнете върху Go → Go to Folder ... Въведете или копирайте и поставете този точен адрес ~ / Library / Application Support / MobileSync.

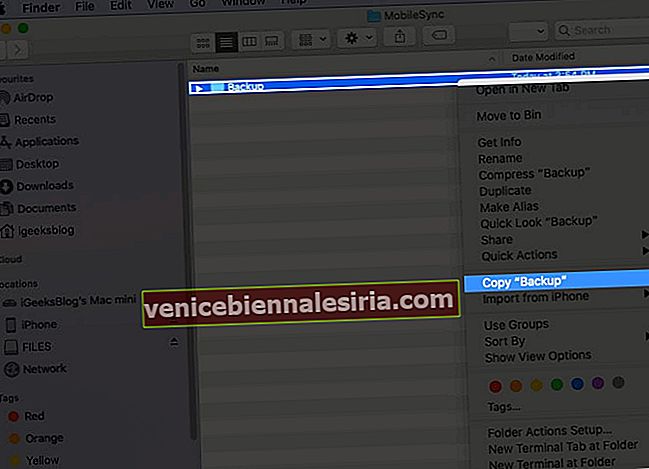
- Вече сте на мястото, където вашият Mac прави резервните копия по подразбиране. Щракнете с десния бутон върху папката Backup и изберете Copy “Backup” .
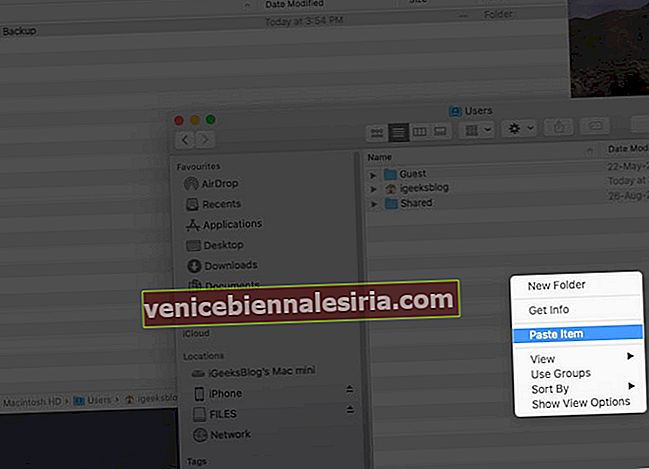
- Сега (отворете втори прозорец на Finder и) отидете на мястото, където искате новата папка за архивиране на iPhone. Това може да е работният плот, документи, нова папка някъде. Когато сте на това място, щракнете с десния бутон и изберете Поставяне на елемент . Оставете процеса на копиране на текущата папка за архивиране на това ново място да приключи. Дръжте този прозорец на Finder отворен. Това ще ви е необходимо в стъпка 6 по-долу.
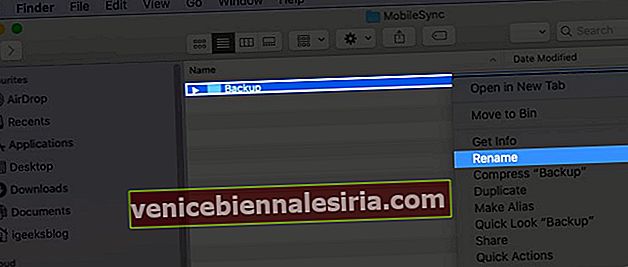
- След копирането се върнете към първия прозорец на Finder (~ / Library / Application Support / MobileSync), щракнете с десния бутон върху папката Backup и изберете Rename (или изберете папката и натиснете клавиша enter).
 Сега добавете .old към името на файла. В резултат на това името на тази папка ще изглежда като Backup.old
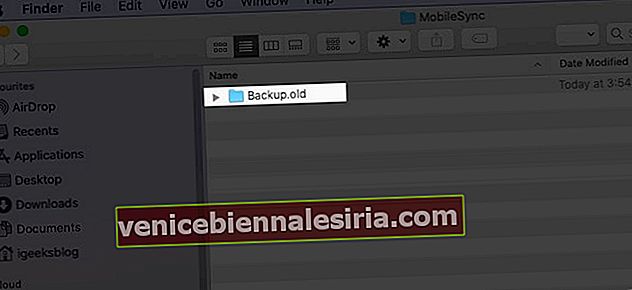
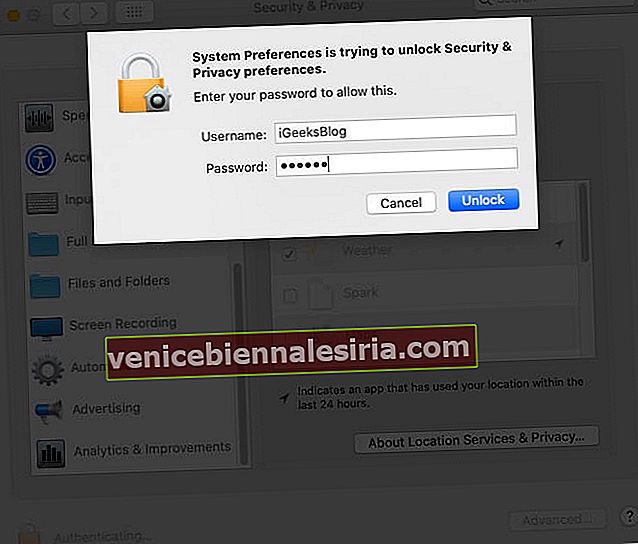
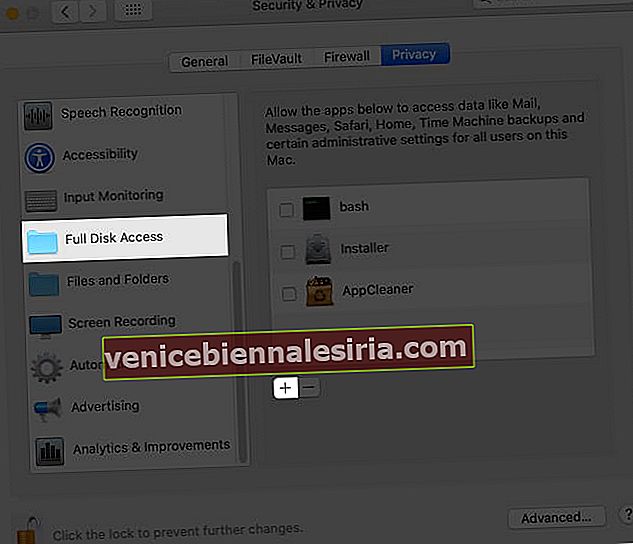
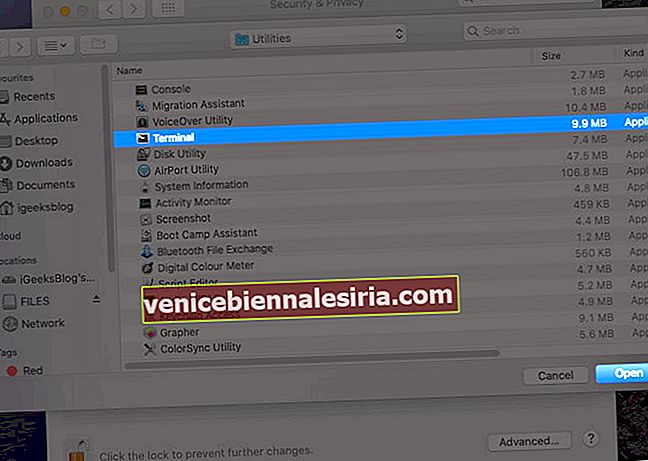
- От горния ляв ъгъл кликнете върху логото на Apple → Системни предпочитания → Сигурност и поверителност → раздела Поверителност → щракнете върху иконата на заключване и въведете паролата на вашия Mac, за да продължите. Сега от лявата странична лента кликнете върху Пълен достъп до диска → щракнете върху малката икона плюс ( + ). От папката Application → Utilities → изберете Terminal и щракнете върху Open . След това можете да кликнете отново върху иконата за заключване и да затворите този прозорец.

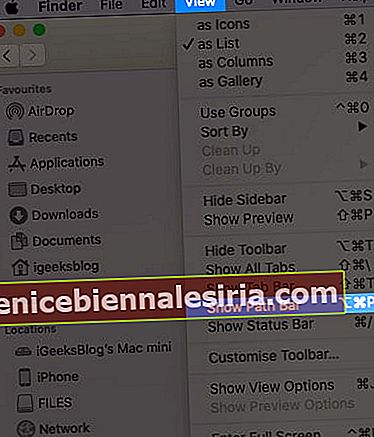
- Сега трябва да знаете точното местоположение на новата папка Backup. За целта от прозореца на Finder кликнете върху View от горната лента и изберете Show Path Bar . В долната част ще видите тънък ред, който ви казва точното местоположение на тази нова резервна папка. Дръжте този прозорец отворен.

- Натиснете Command + интервал , потърсете Terminal и го отворете. След това трябва да редактирате следната команда, която да отговаря на вашия компютър и след това да я въведете / поставите в прозореца на терминала.
ln -s /Volumes/Drive/Backup/ ~/Library/Application\ Support/MobileSync/ - Много важно: Редактиране на горната команда: Отворете обикновено приложение за бележник или сайт като editpad.org. Сега, моля, копирайте горната команда и я поставете там. След това трябва да замените / Volumes / Drive / Backup / с местоположението на вашата папка Backup.
Например вижте екранната снимка по-горе. Местоположението на папката ми Backup е Macintosh HD → Потребители → Архивиране . Така че командата ще изглежда така:
ln -s /Volumes/Macintosh\ HD/Users/Backup/ ~/Library/Application\ Support/MobileSync/Ако името на местоположението има две или повече части / думи като Macintosh HD, трябва да поставите обратна наклонена черта и единично интервал. Например Macintosh \ HD
ln -s /Volumes/Donald/Backup/ ~/Library/Application\ Support/MobileSync/ln -s /Volumes/Donald/iPhone/Backup/ ~/Library/Application\ Support/MobileSync/Now, you know how to change the path address in the command. Next, let us make use of it.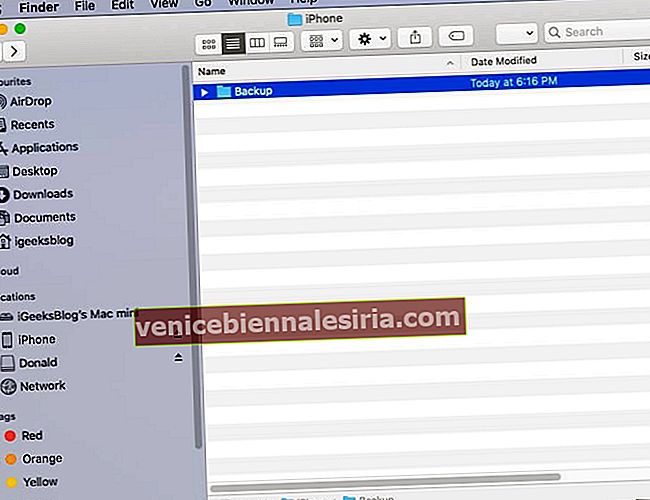
Copy the final command, paste it in the Terminal, and press the enter key.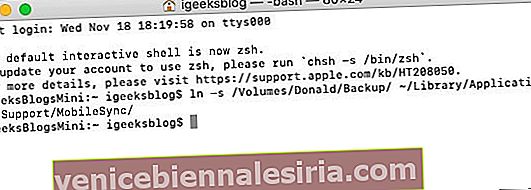 Tip: Now, when you go to the original Backup.old Finder window, you will see a new folder named Backup, which will have a small arrow on it.
Finally, open Finder on your Mac, connect the iPhone, Trust it, and click on Back Up Now. The backup would be made and saved at the new location.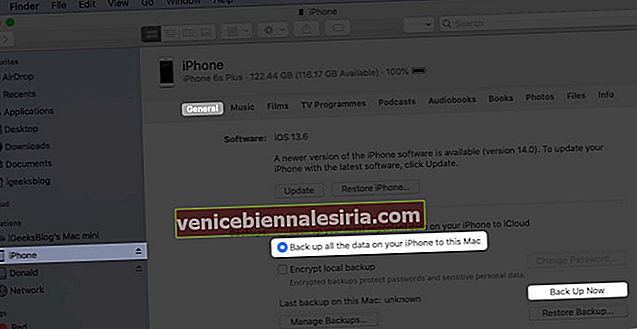


 Сега добавете .old към името на файла. В резултат на това името на тази папка ще изглежда като Backup.old


 Tip: Now, when you go to the original Backup.old Finder window, you will see a new folder named Backup, which will have a small arrow on it.
Notes:
Optional: After you complete the first backup at the new location, you may choose to delete the Backup.old folder. This may free significant space on your Mac.If you opted to back up your iPhone to an external drive, make sure you connect it to the Mac before hitting Back Up Now in the future.
Restore iPhone Backup Folder to its Original Location on Mac
From the Finder window, click on Go → Go to Folder → and enter this location ~/Library/Application Support/MobileSyncRight-click on the folder with an arrow icon and select Move to Bin.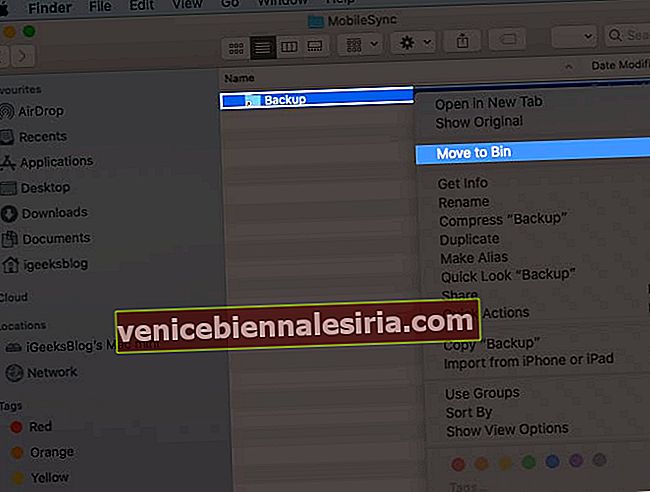
Now, for safety, drag (or copy-paste) the current Backup folder to this location. All future iPhone backups will be saved here, like before. Even if you do not follow this step, the next time you make the device backup, a new folder named Backup will automatically be created.

Do you not want to follow the lengthy process above? Well, here is the most straightforward way to change the iTunes/Finder iPhone backup location on Mac.
How to Change iTunes Backup Location Using iPhone Backup Extractor
Download iPhone Backup Extractor for free and complete the installation.Important: First time, you may have to open the System Preferences → Security & Privacy → Privacy tab → click on the padlockicon, and enter your Mac’s password. Now, click on Full Disk Access and then the plus sign (+). Next, select iPhone Backup Extractor and click Open.
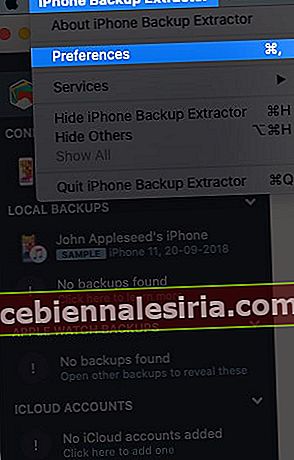
Now come back to the iPhone Backup Extractor app window. (If needed, click on ‘OK, I’ve made this change, let’s restart the app to continue!’) From the top menu bar, click on iPhone Backup Extractor → Preferences → Backups → Change. Now, you may see a popup saying ‘Backup contains data.’ Click on ‘Open.’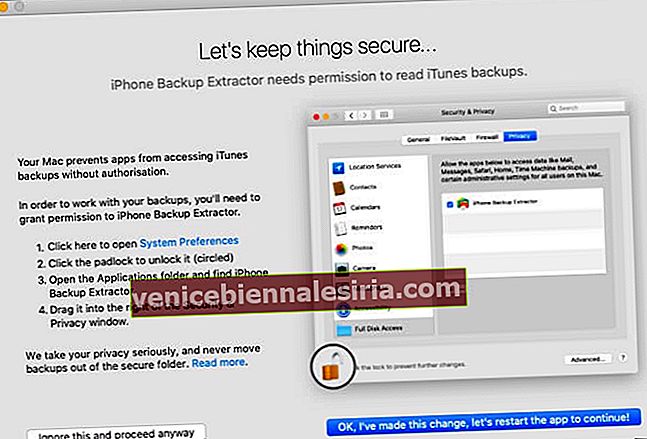
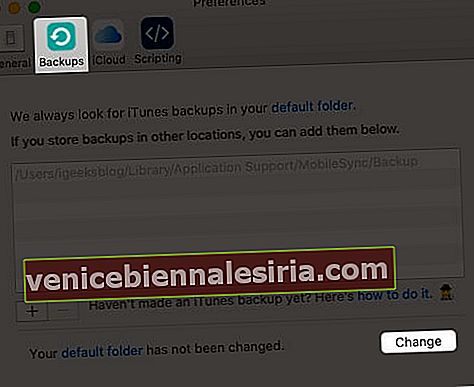
From here, drag the folder with a lengthy name like 149652….. to someplace else, like the Desktop.After that, inside the iPhone Backup Extractor app, click on Change and Select the desired folder.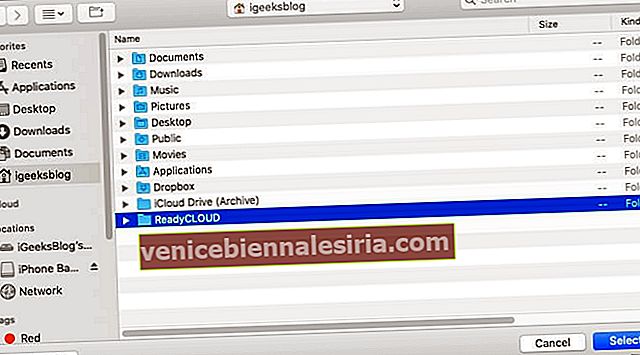


Done! You have successfully changed the iPhone backup folder in just a few steps. To undo this change, click on Revert.
Already Changed iTunes Backup Location But Unable to See the Backup?
Even after you have correctly followed the above steps and are unable to find the backup, then we have a separate guide that has you covered.
Most of the time, if you follow the first manual step, the problem arises due to the wrong location address of the new Backup folder. You must get that right. If this is wrong, go to ~/Library/Application Support/MobileSync and you will see a white Backup symlink instead of a blue folder named Backup with an arrow.
How to Change the iTunes Backup Location on Windows PC
As iTunes won’t let you change it, you need to make way through a symbolic link. Also known as a symlink, it’s a bridge that connects two folders with the same name. Using a symlink, you can direct iTunes to back up data to a dummy folder that you’ll have to create. However, you’ll have to enter some commands in the “Run As Administrator” window. Just make sure that you create a dummy folder in a drive with enough storage space. Like, we created it in D:\. Let’s get started by creating a folder first.
Create a folder named “MobileSync” in the D:\ (d stands for drive) on your computer.To view the by-default location, go to C:\Users\UserName\Apple\MobileSync if you have downloaded iTunes from Windows 10 Store. For the old desktop version, you need to go to C:\Users\UserName\AppData\Roaming\Apple Computer\MobileSyncCut and paste the Backup folder to the new MobileSync folder that you’ve created in D:\Now, run CMD as administrator. To do so, press Windows + R keys together, then type cmd in the search field.Press Ctrl + Shift + Enter to run it as in the administrator.Enter the command mentioned below.
If you’ve downloaded iTunes from the Microsoft store. MkLink /J “C:\Users\UserName\Apple\MobileSync\Backup” “D:\MobileSync\Backup
Enter this code MkLink /J “C:\Users\UserName\AppData\Roaming\Apple Computer\MobileSync\Backup” “D:\MobileSync\Backup” if using the older version.
Now when you back up your iPhone using iTunes, the data will be stored in the D:\MobileSync\Backup folder. Try backing up your iPhone and check if the Backup folder in the D:\ is configured correctly.
iPhone Backup Location Changed Successfully!
This is how you can have new iOS or iPadOS backups to a different location. Changing to some other folder on the same internal disk makes little sense. But doing the same on an external disk frees space on your internal disk.
I hope the above guide was helpful. In case you are facing difficulty at any step, feel free to reach us via the comments section below.
You may also like to read:
Find iPhone Backup Location on Mac and Windows PC3 Ways to Check Folder Size on MacHow to Use Control Center in macOS Big SurHow to Backup and Install iPhone Apps from Mac/Windows Without iTunes